Planting a tree requires careful attention to detail to ensure the tree thrives. For cocos rootballed trees, following the correct planting steps is essential for their healthy growth. These trees come with a rootball wrapped in mesh wire and cocos material. However, improper handling during planting can hinder the tree's development. This guide provides detailed instructions to help you plant your cocos rootballed tree correctly.
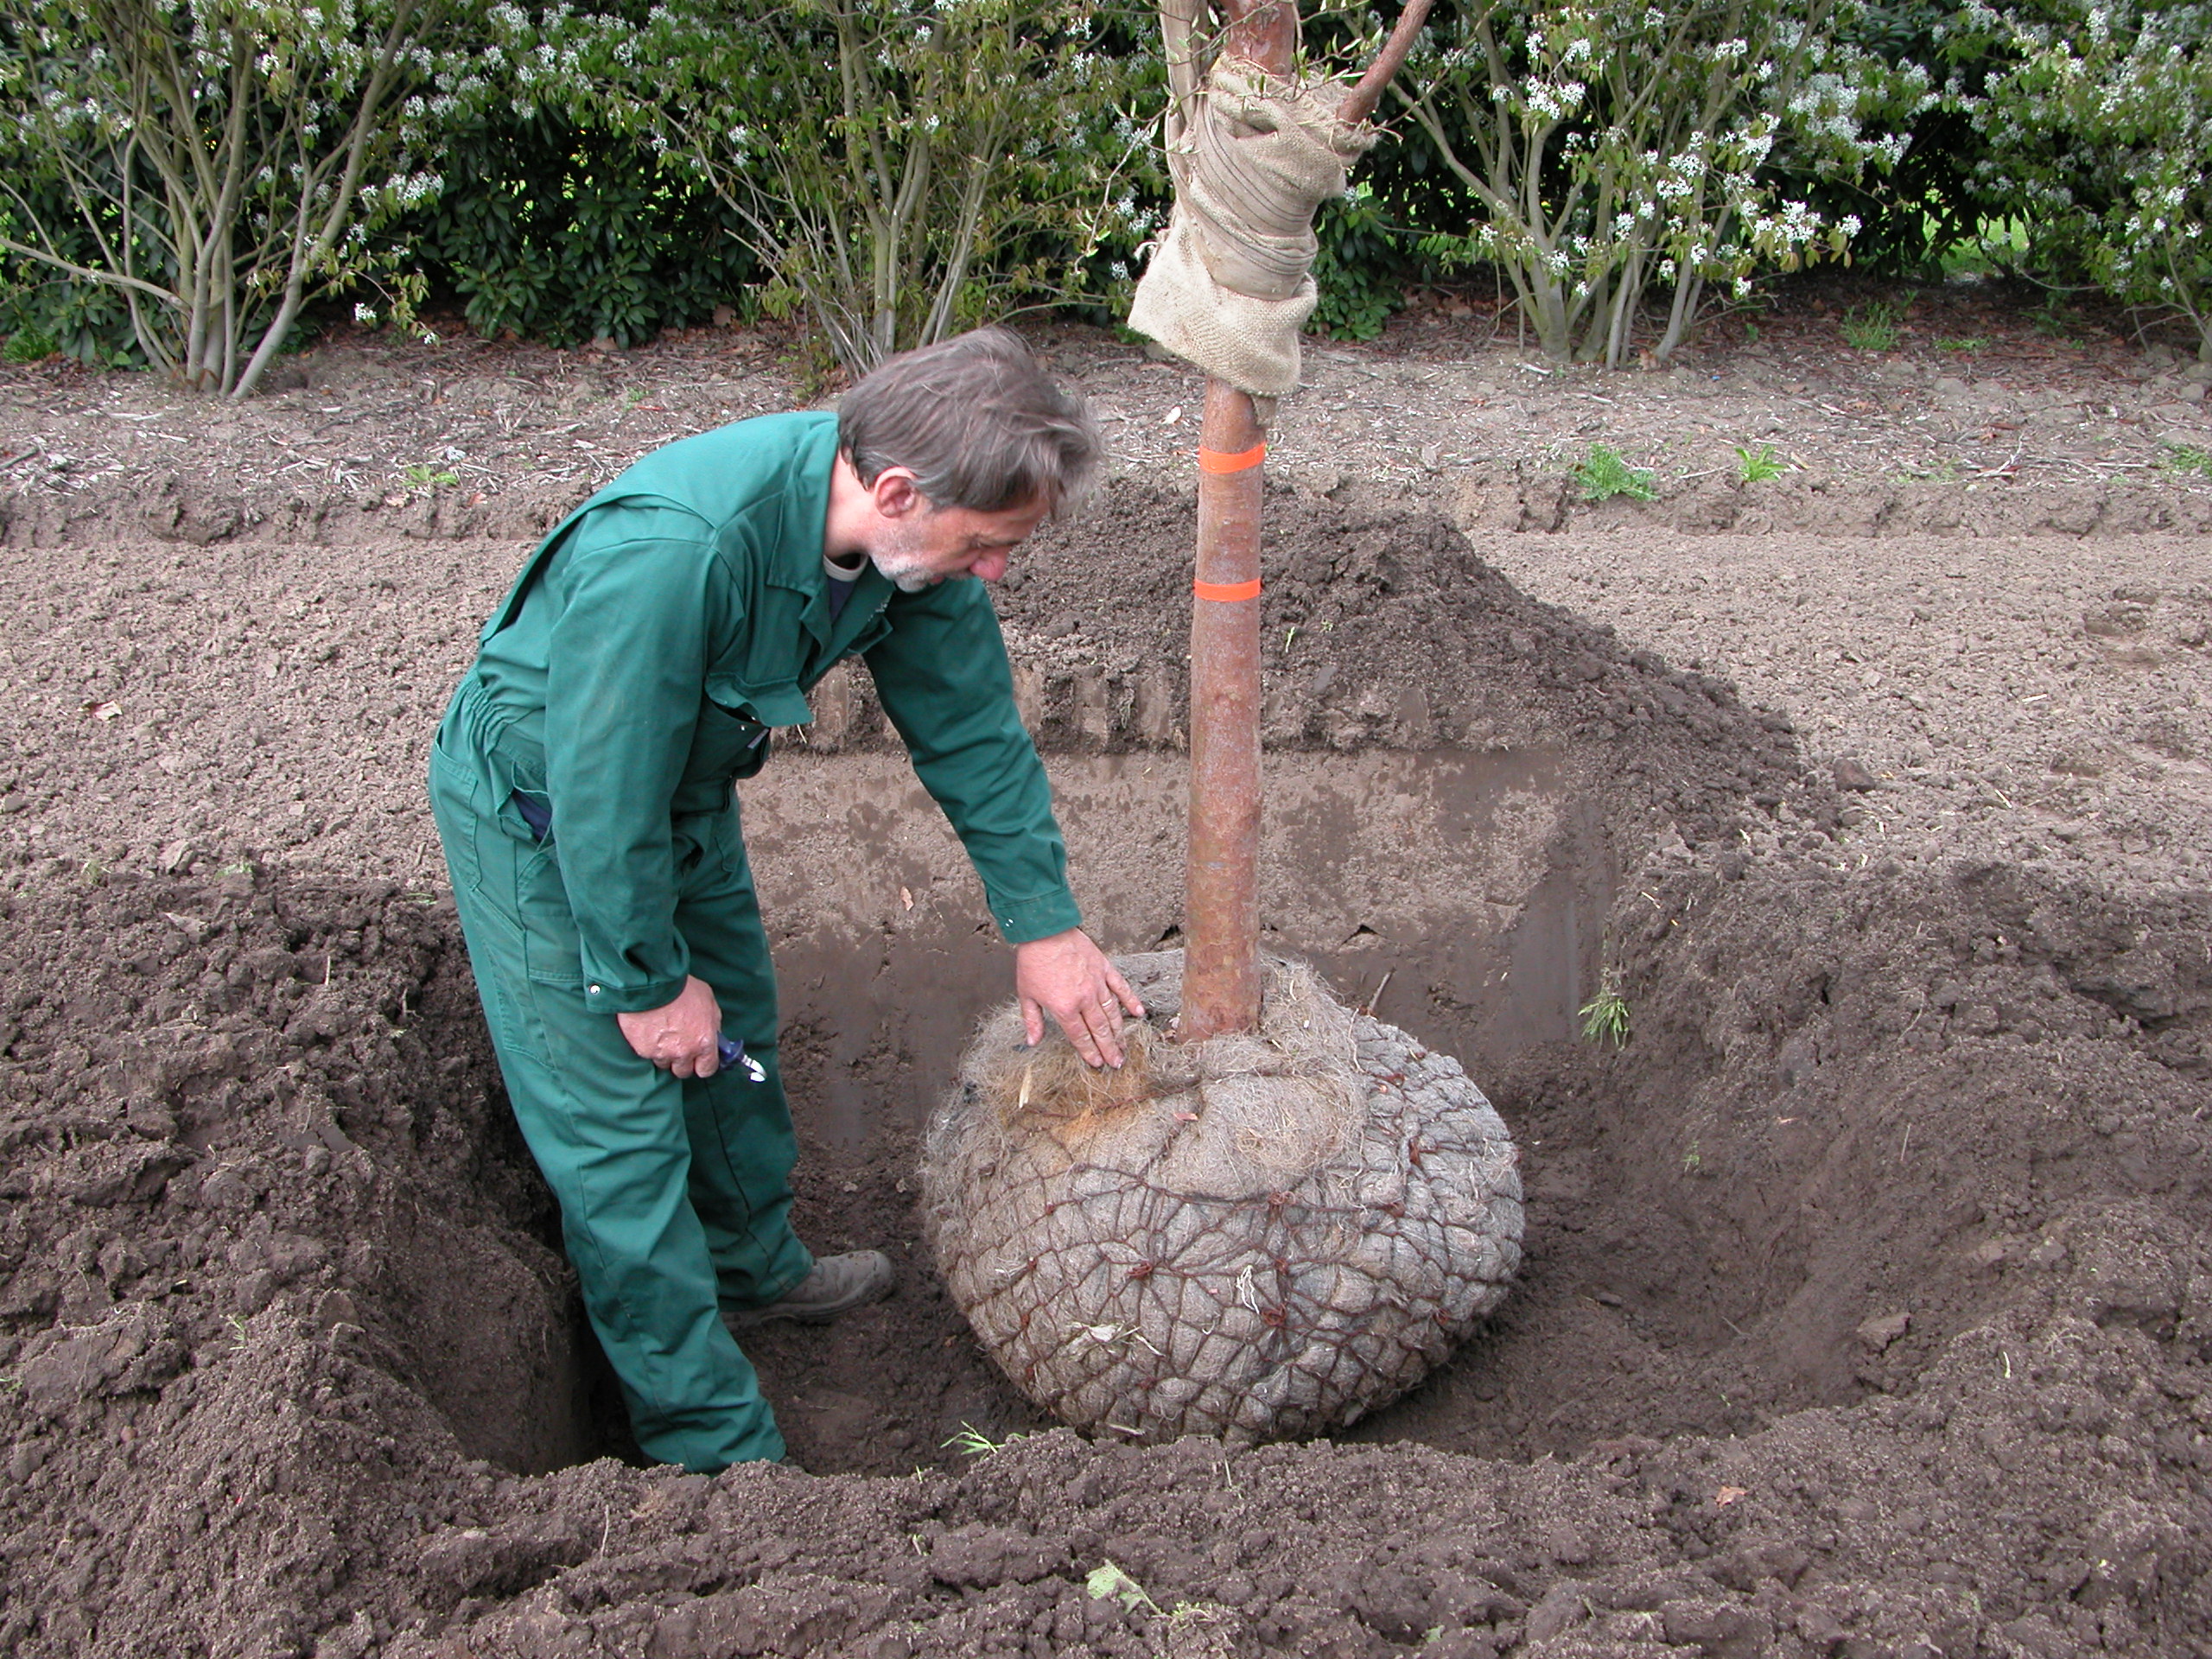
When planting a cocos rootballed tree, it is crucial to keep the tree upright in the tree pit. Ensuring the tree is vertical helps it grow straight and strong, establishing a solid foundation. An upright tree prevents leaning and promotes balanced growth, which is essential for stability, especially in windy conditions.
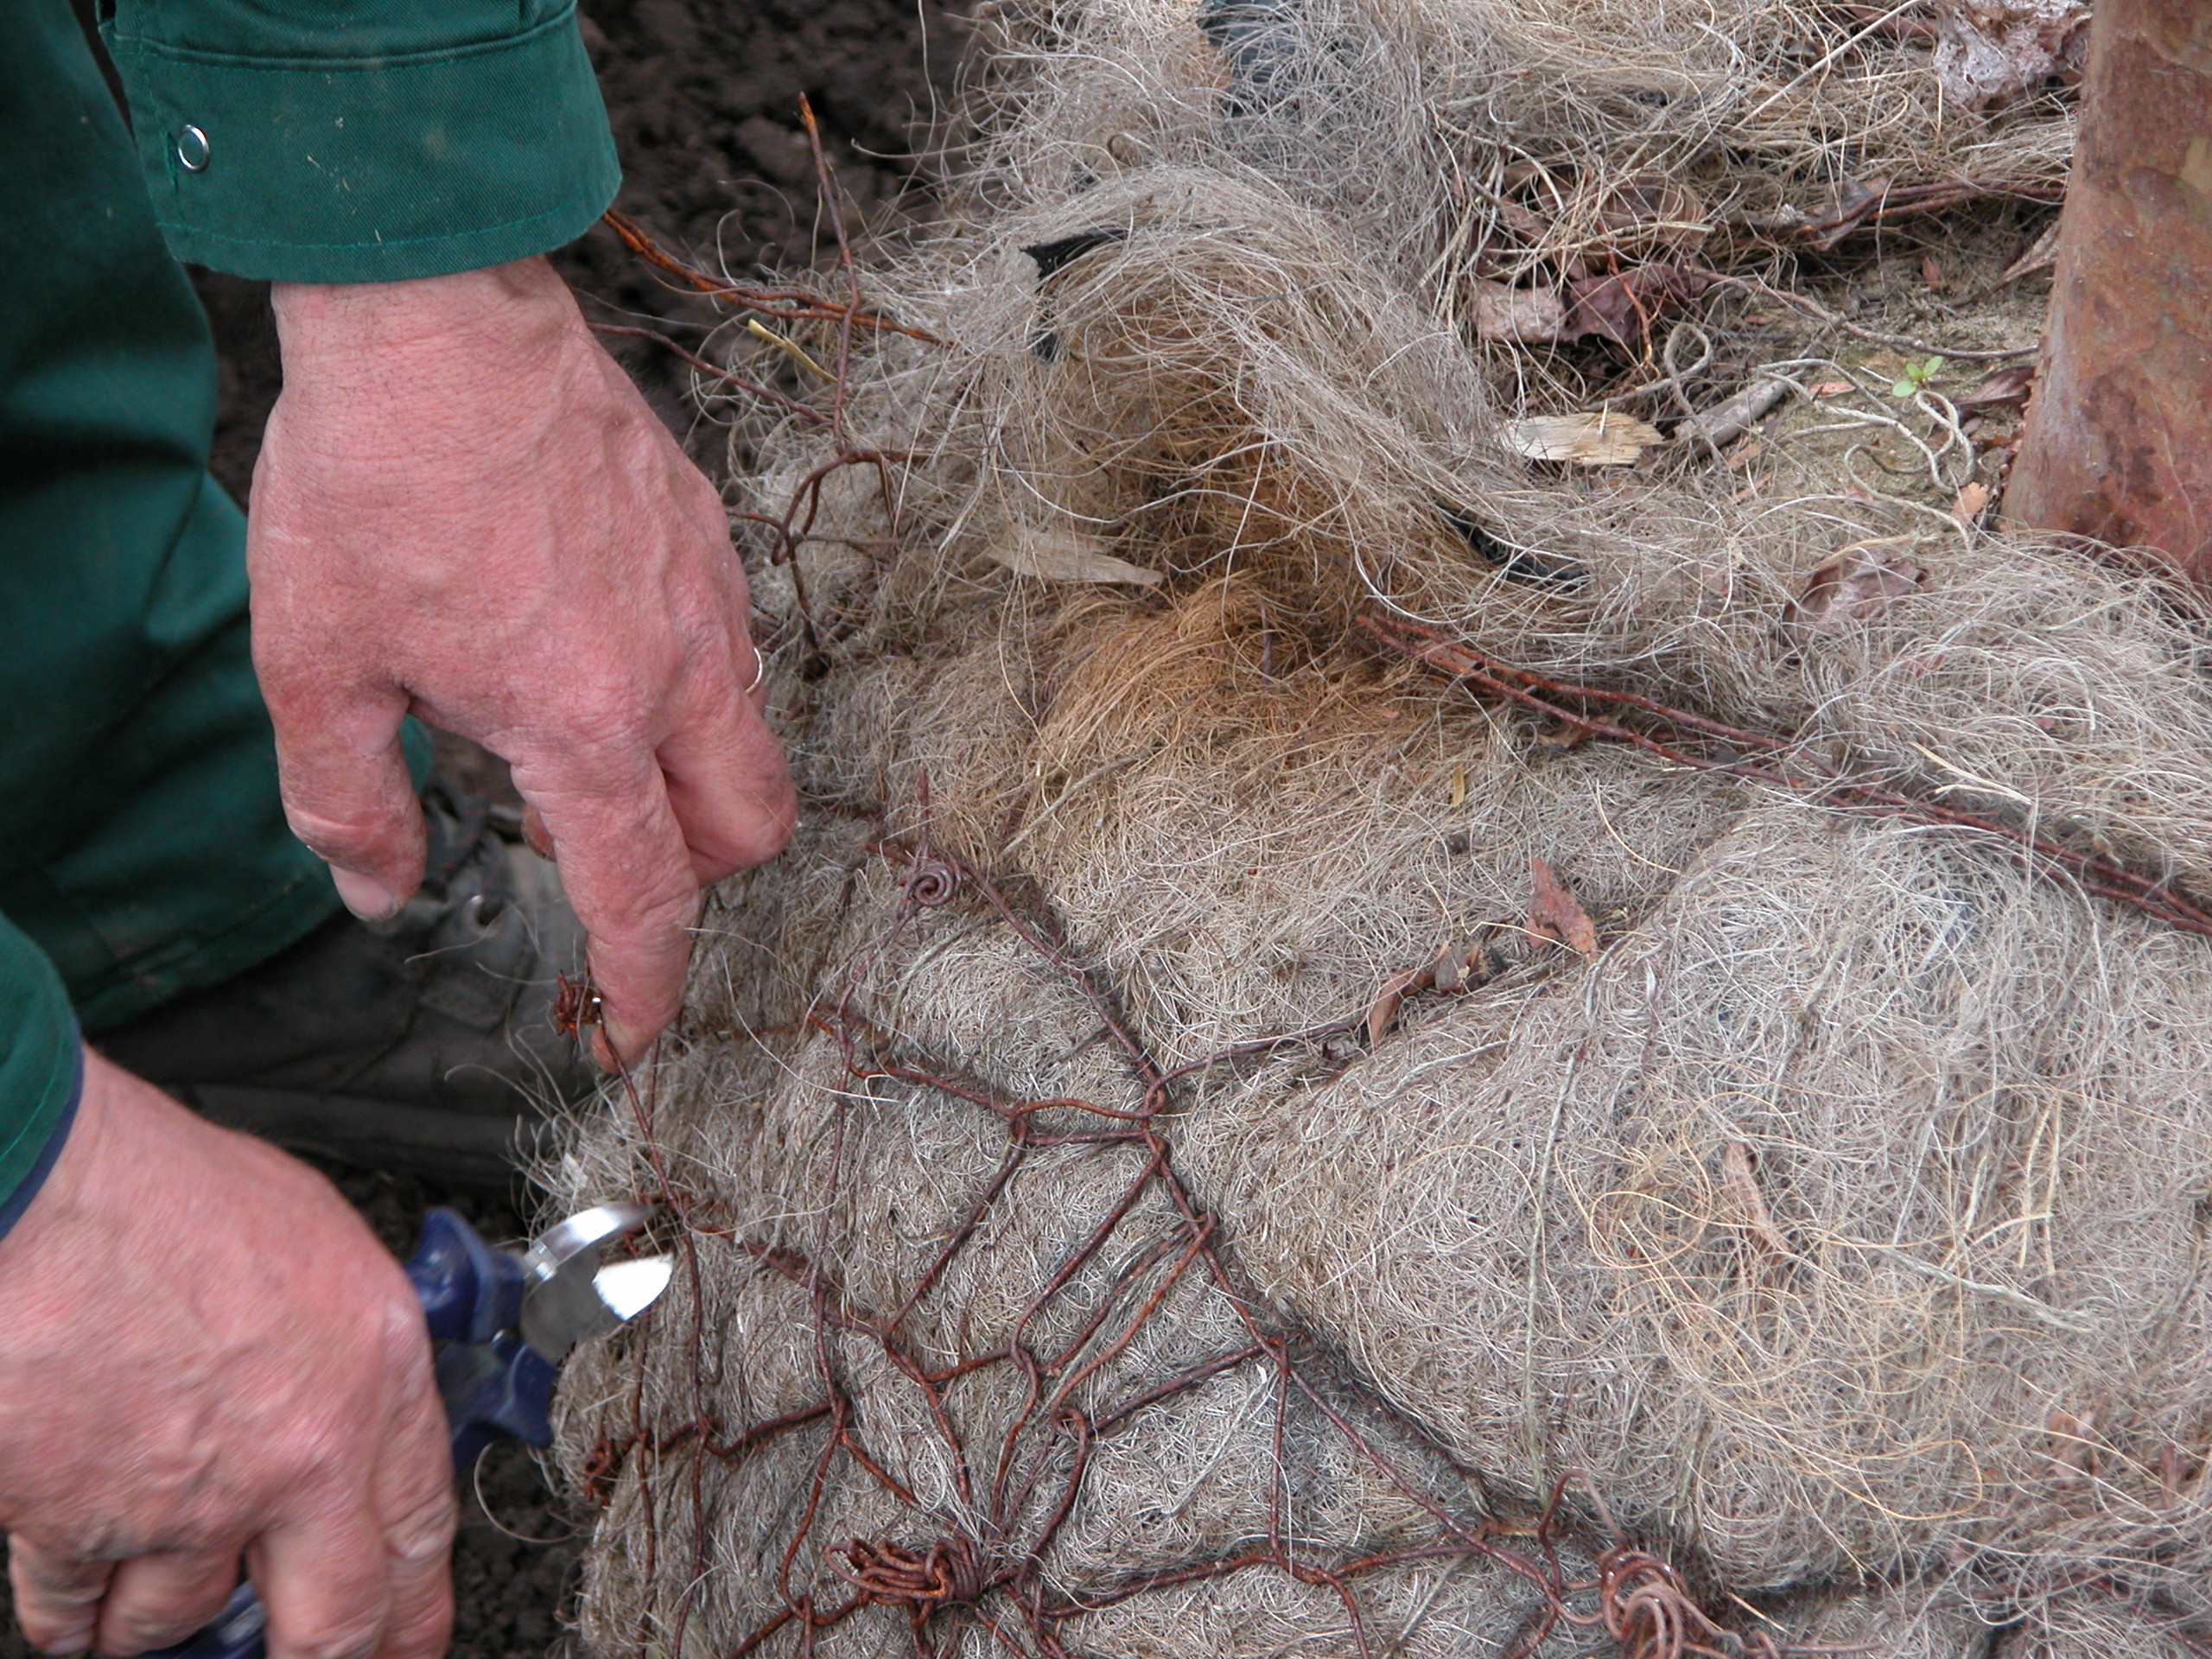
To facilitate the removal of the cocos material, carefully cut the mesh wire surrounding the rootball in three to four places. This step helps to loosen the cocos, making it easier to handle in the next step.
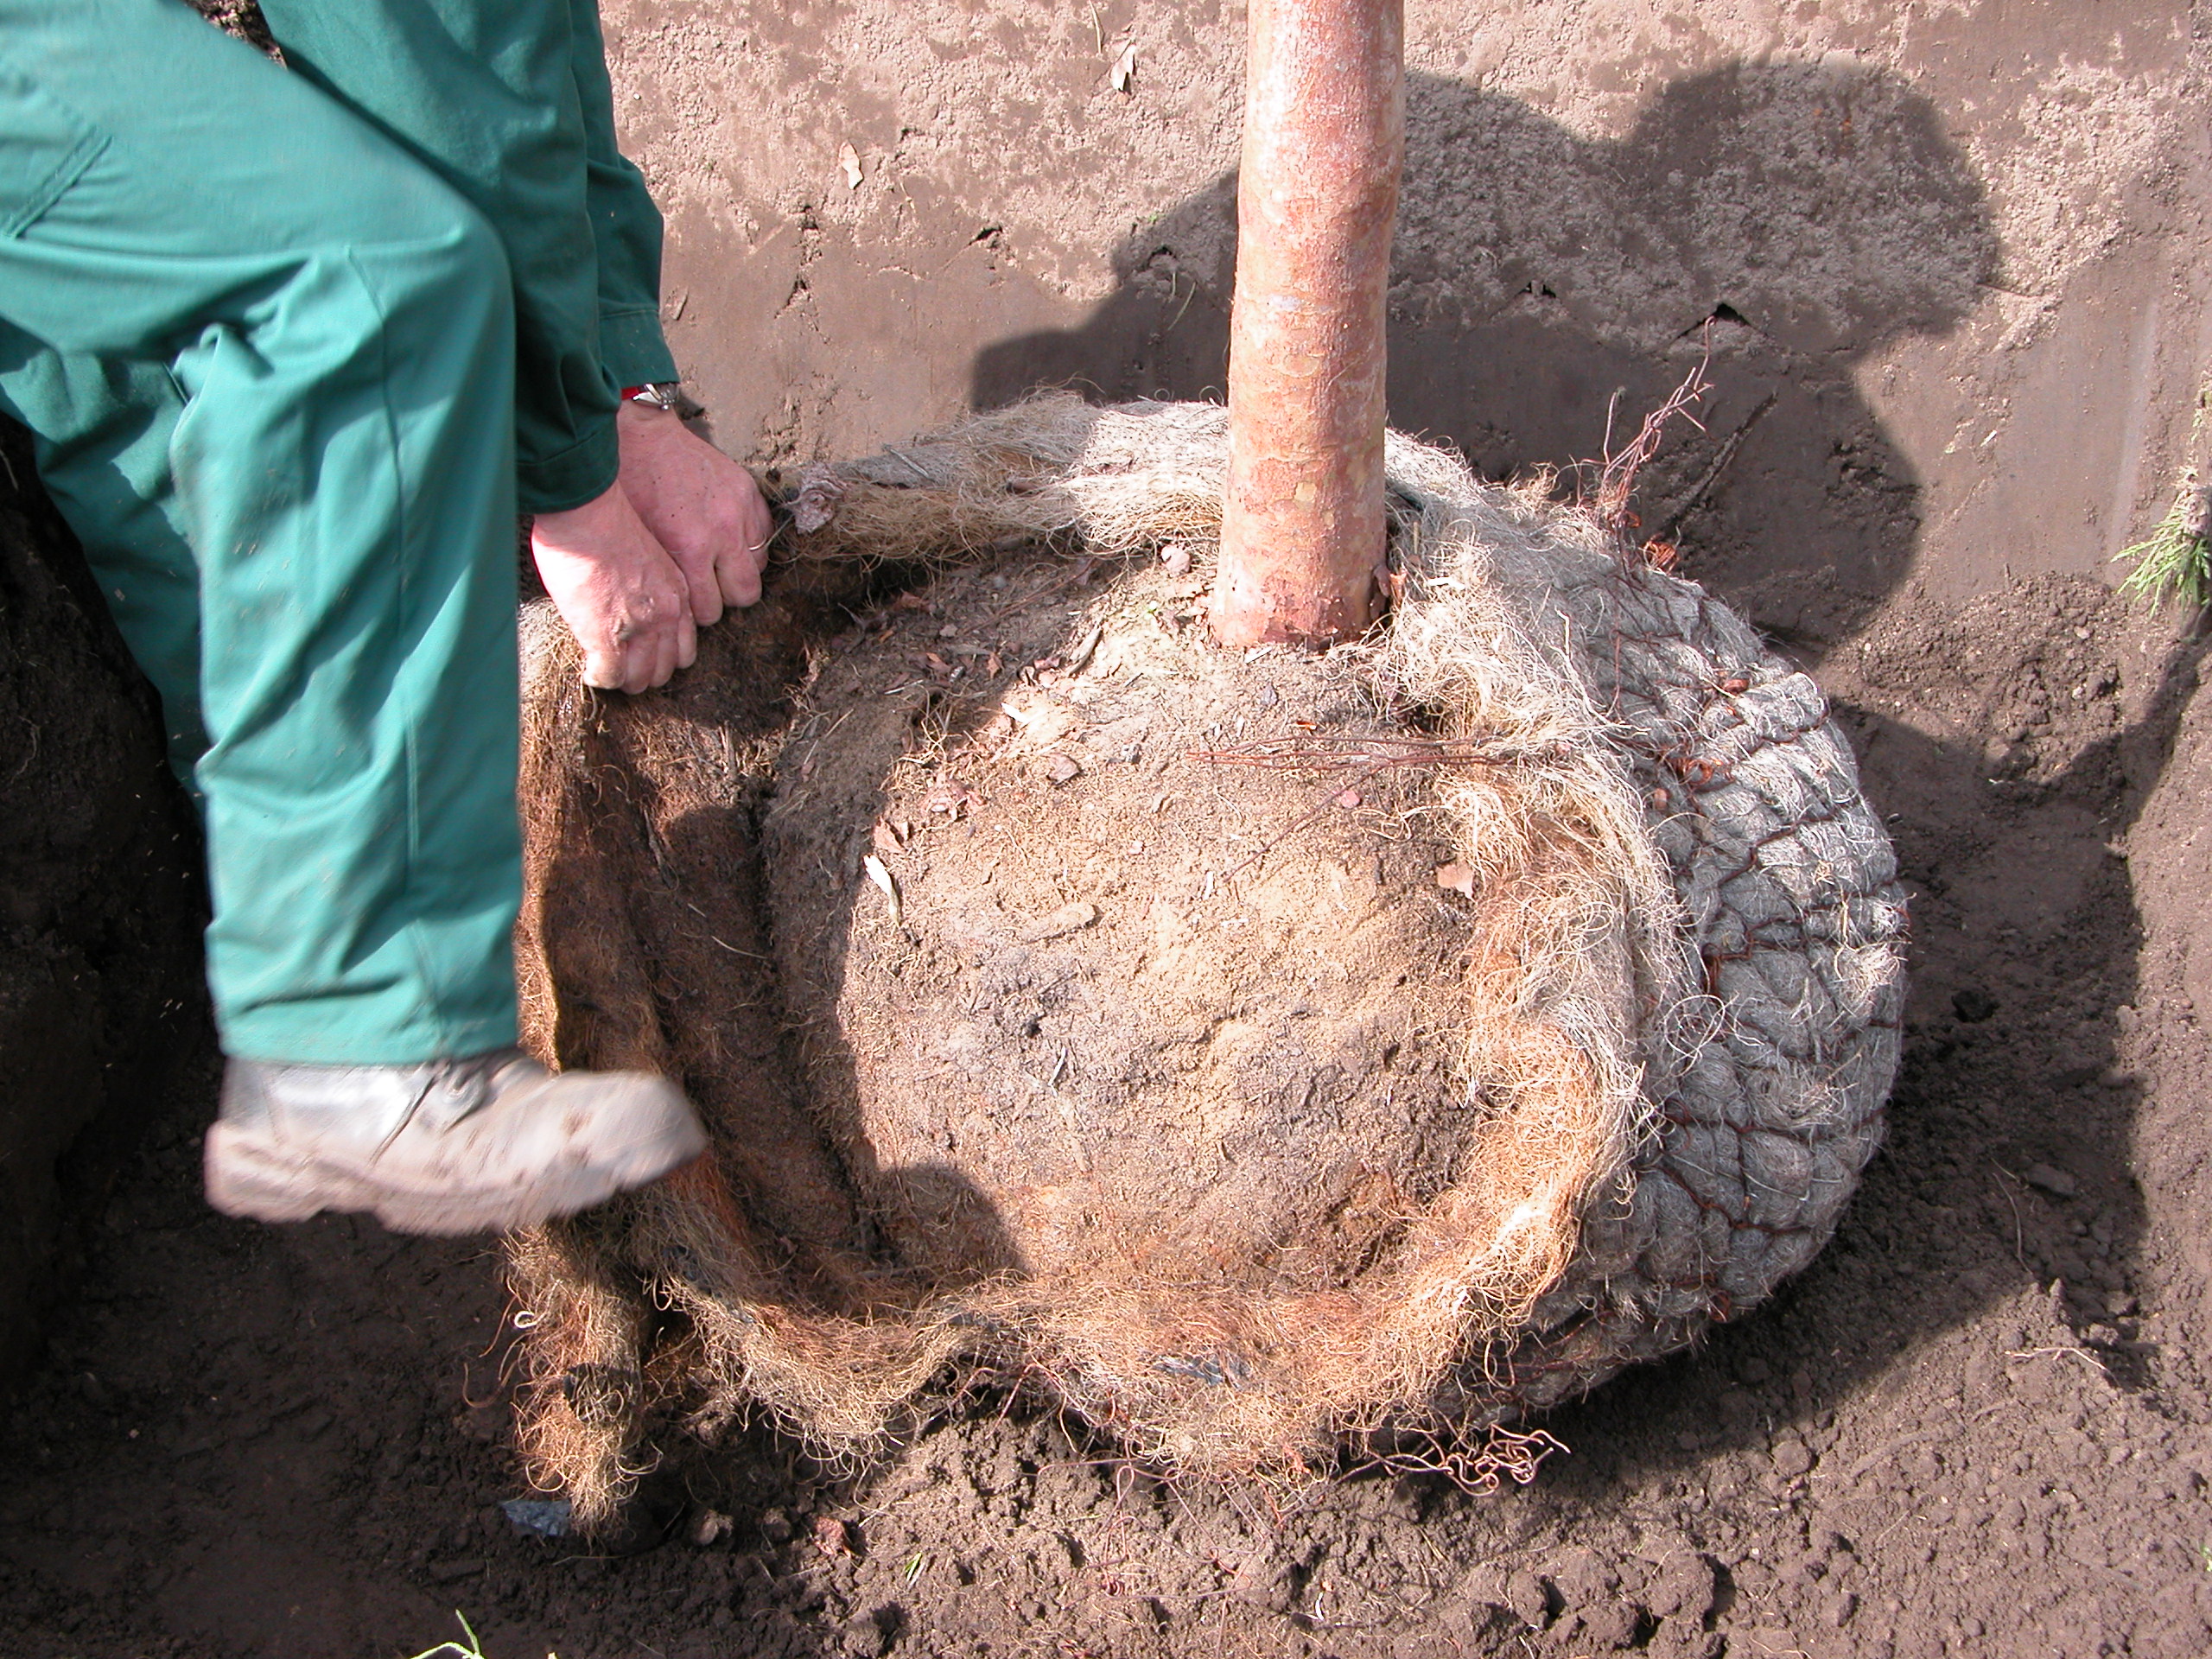
Gently pull back the wire and the cocos material from the top of the rootball. Exposing the top of the rootball helps the tree acclimate quickly, allowing for better water and nutrient absorption right from the start.
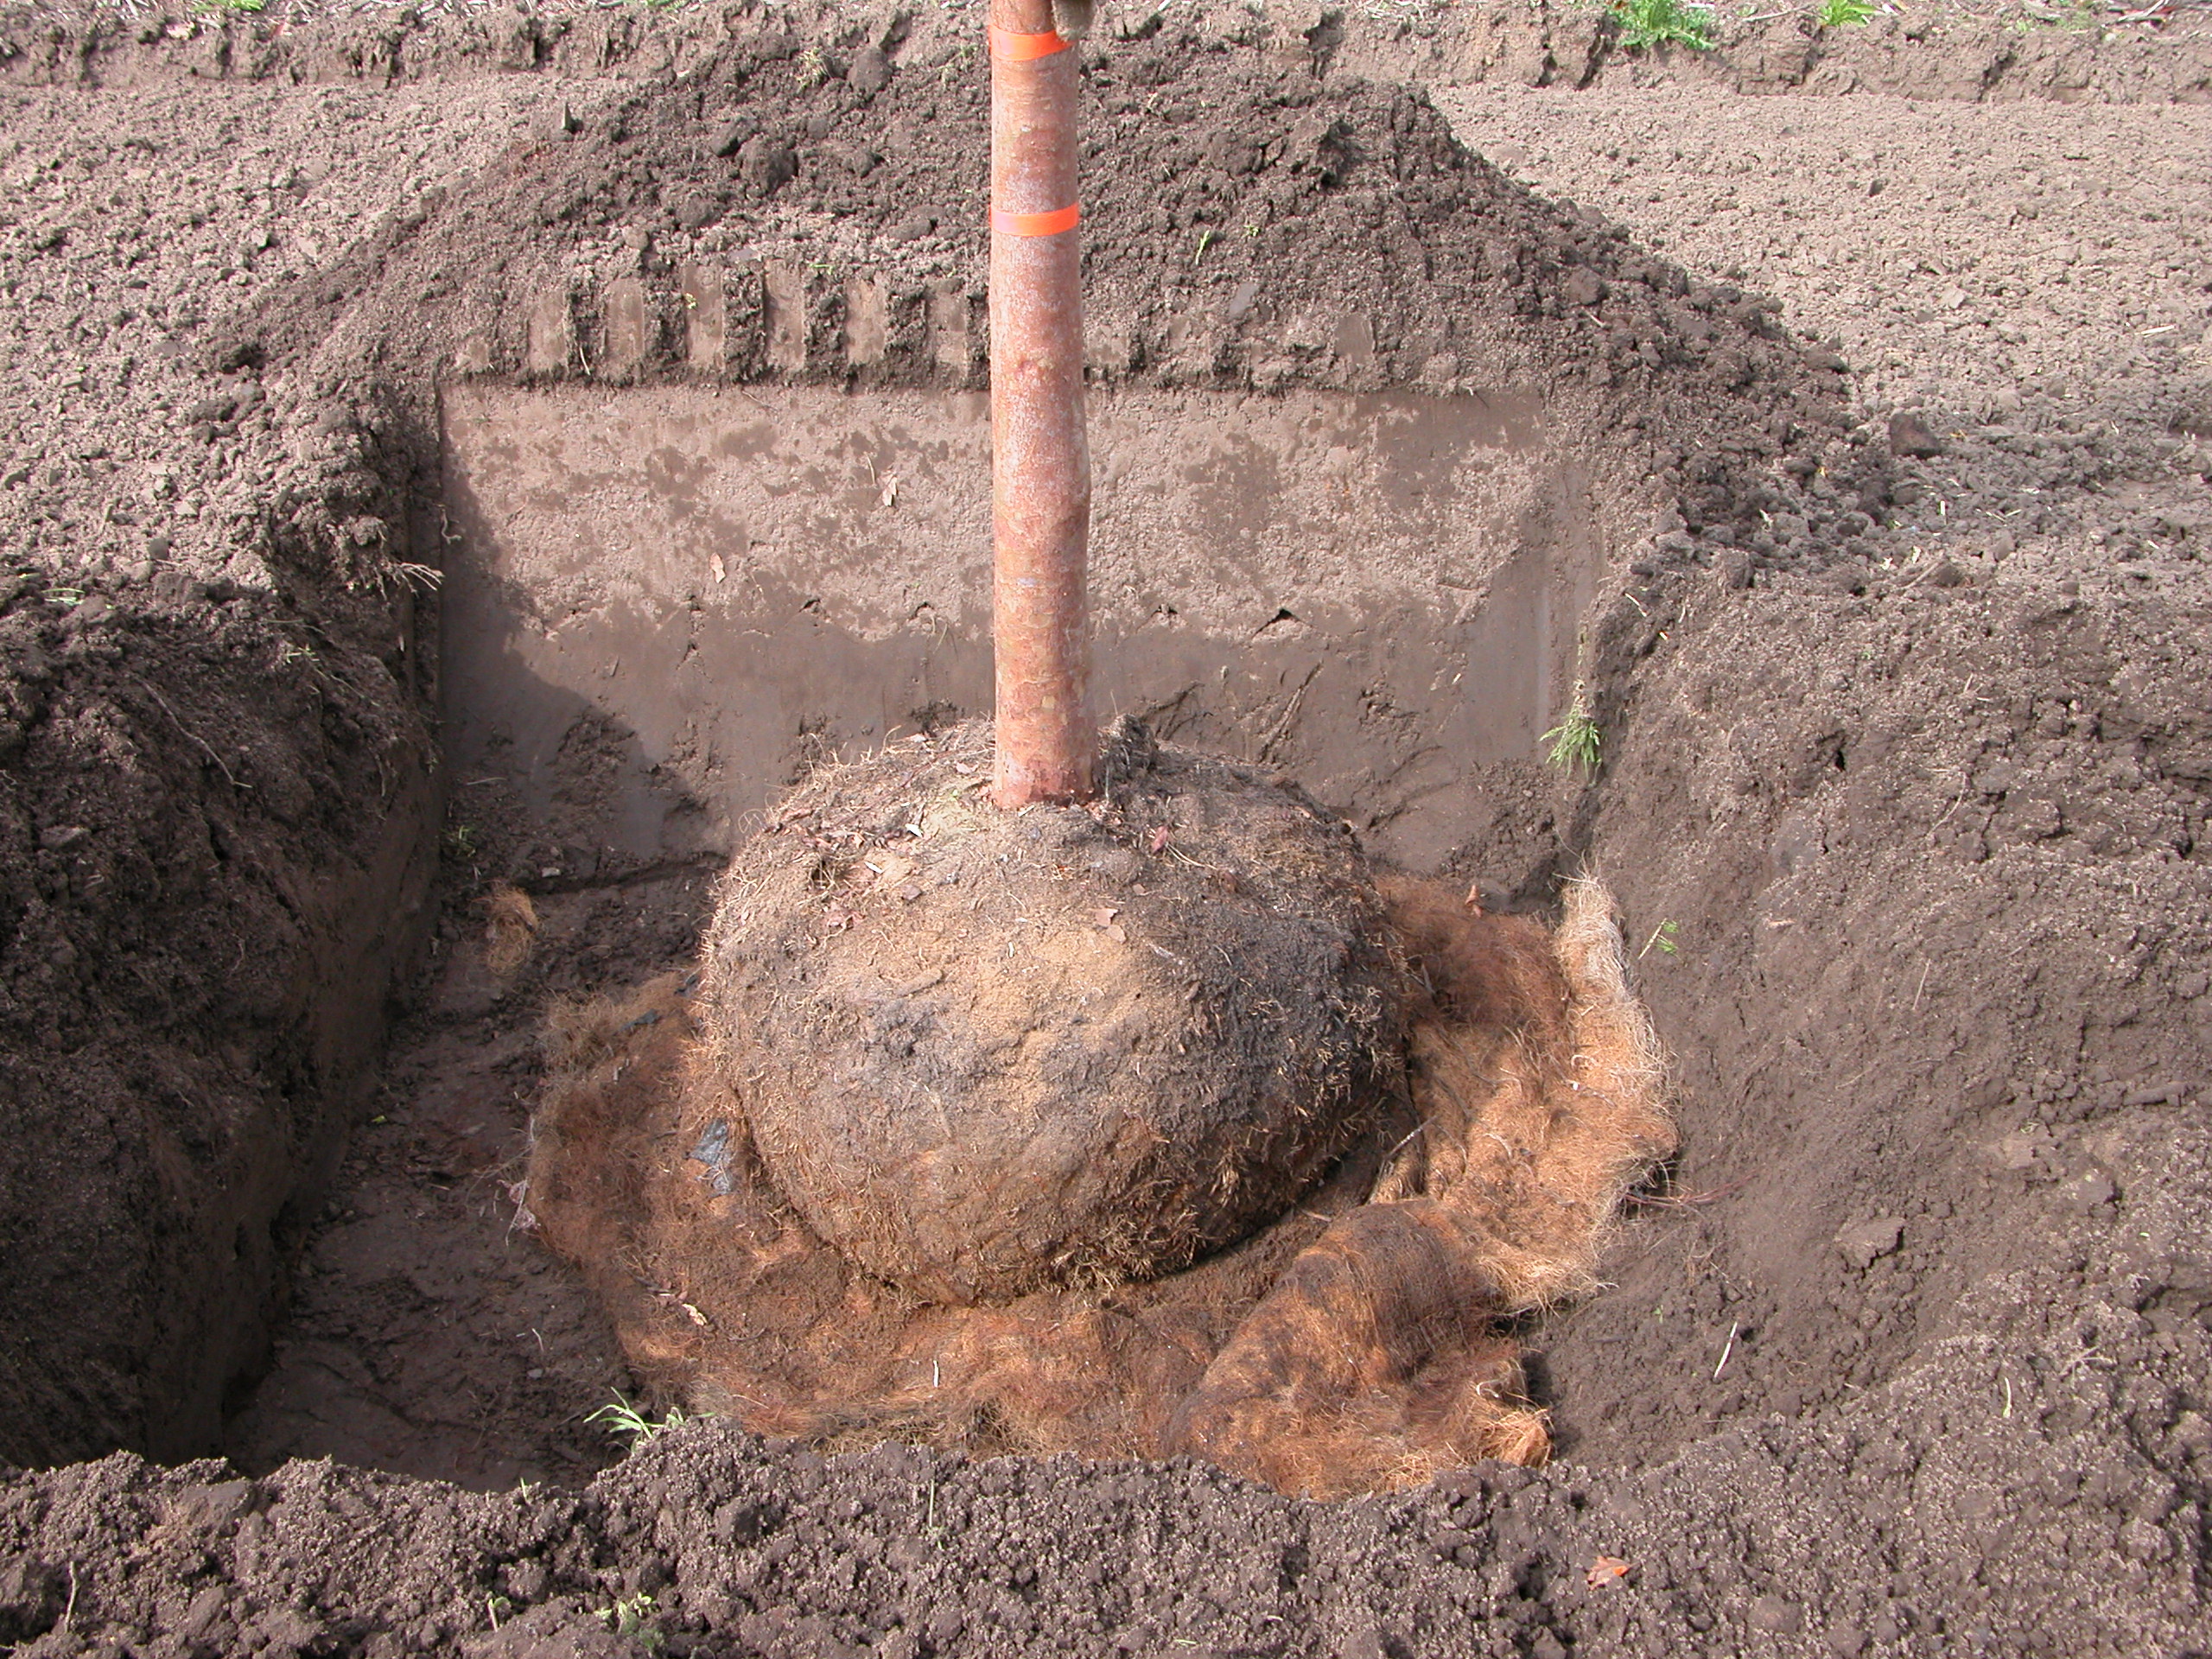
The wire and cocos material should remain at the bottom of the tree pit. This setup supports the rootball and maintains its integrity while the tree establishes itself. Leaving these materials at the bottom helps protect the rootball during the critical early stages of growth and prevents it from shifting or settling improperly.
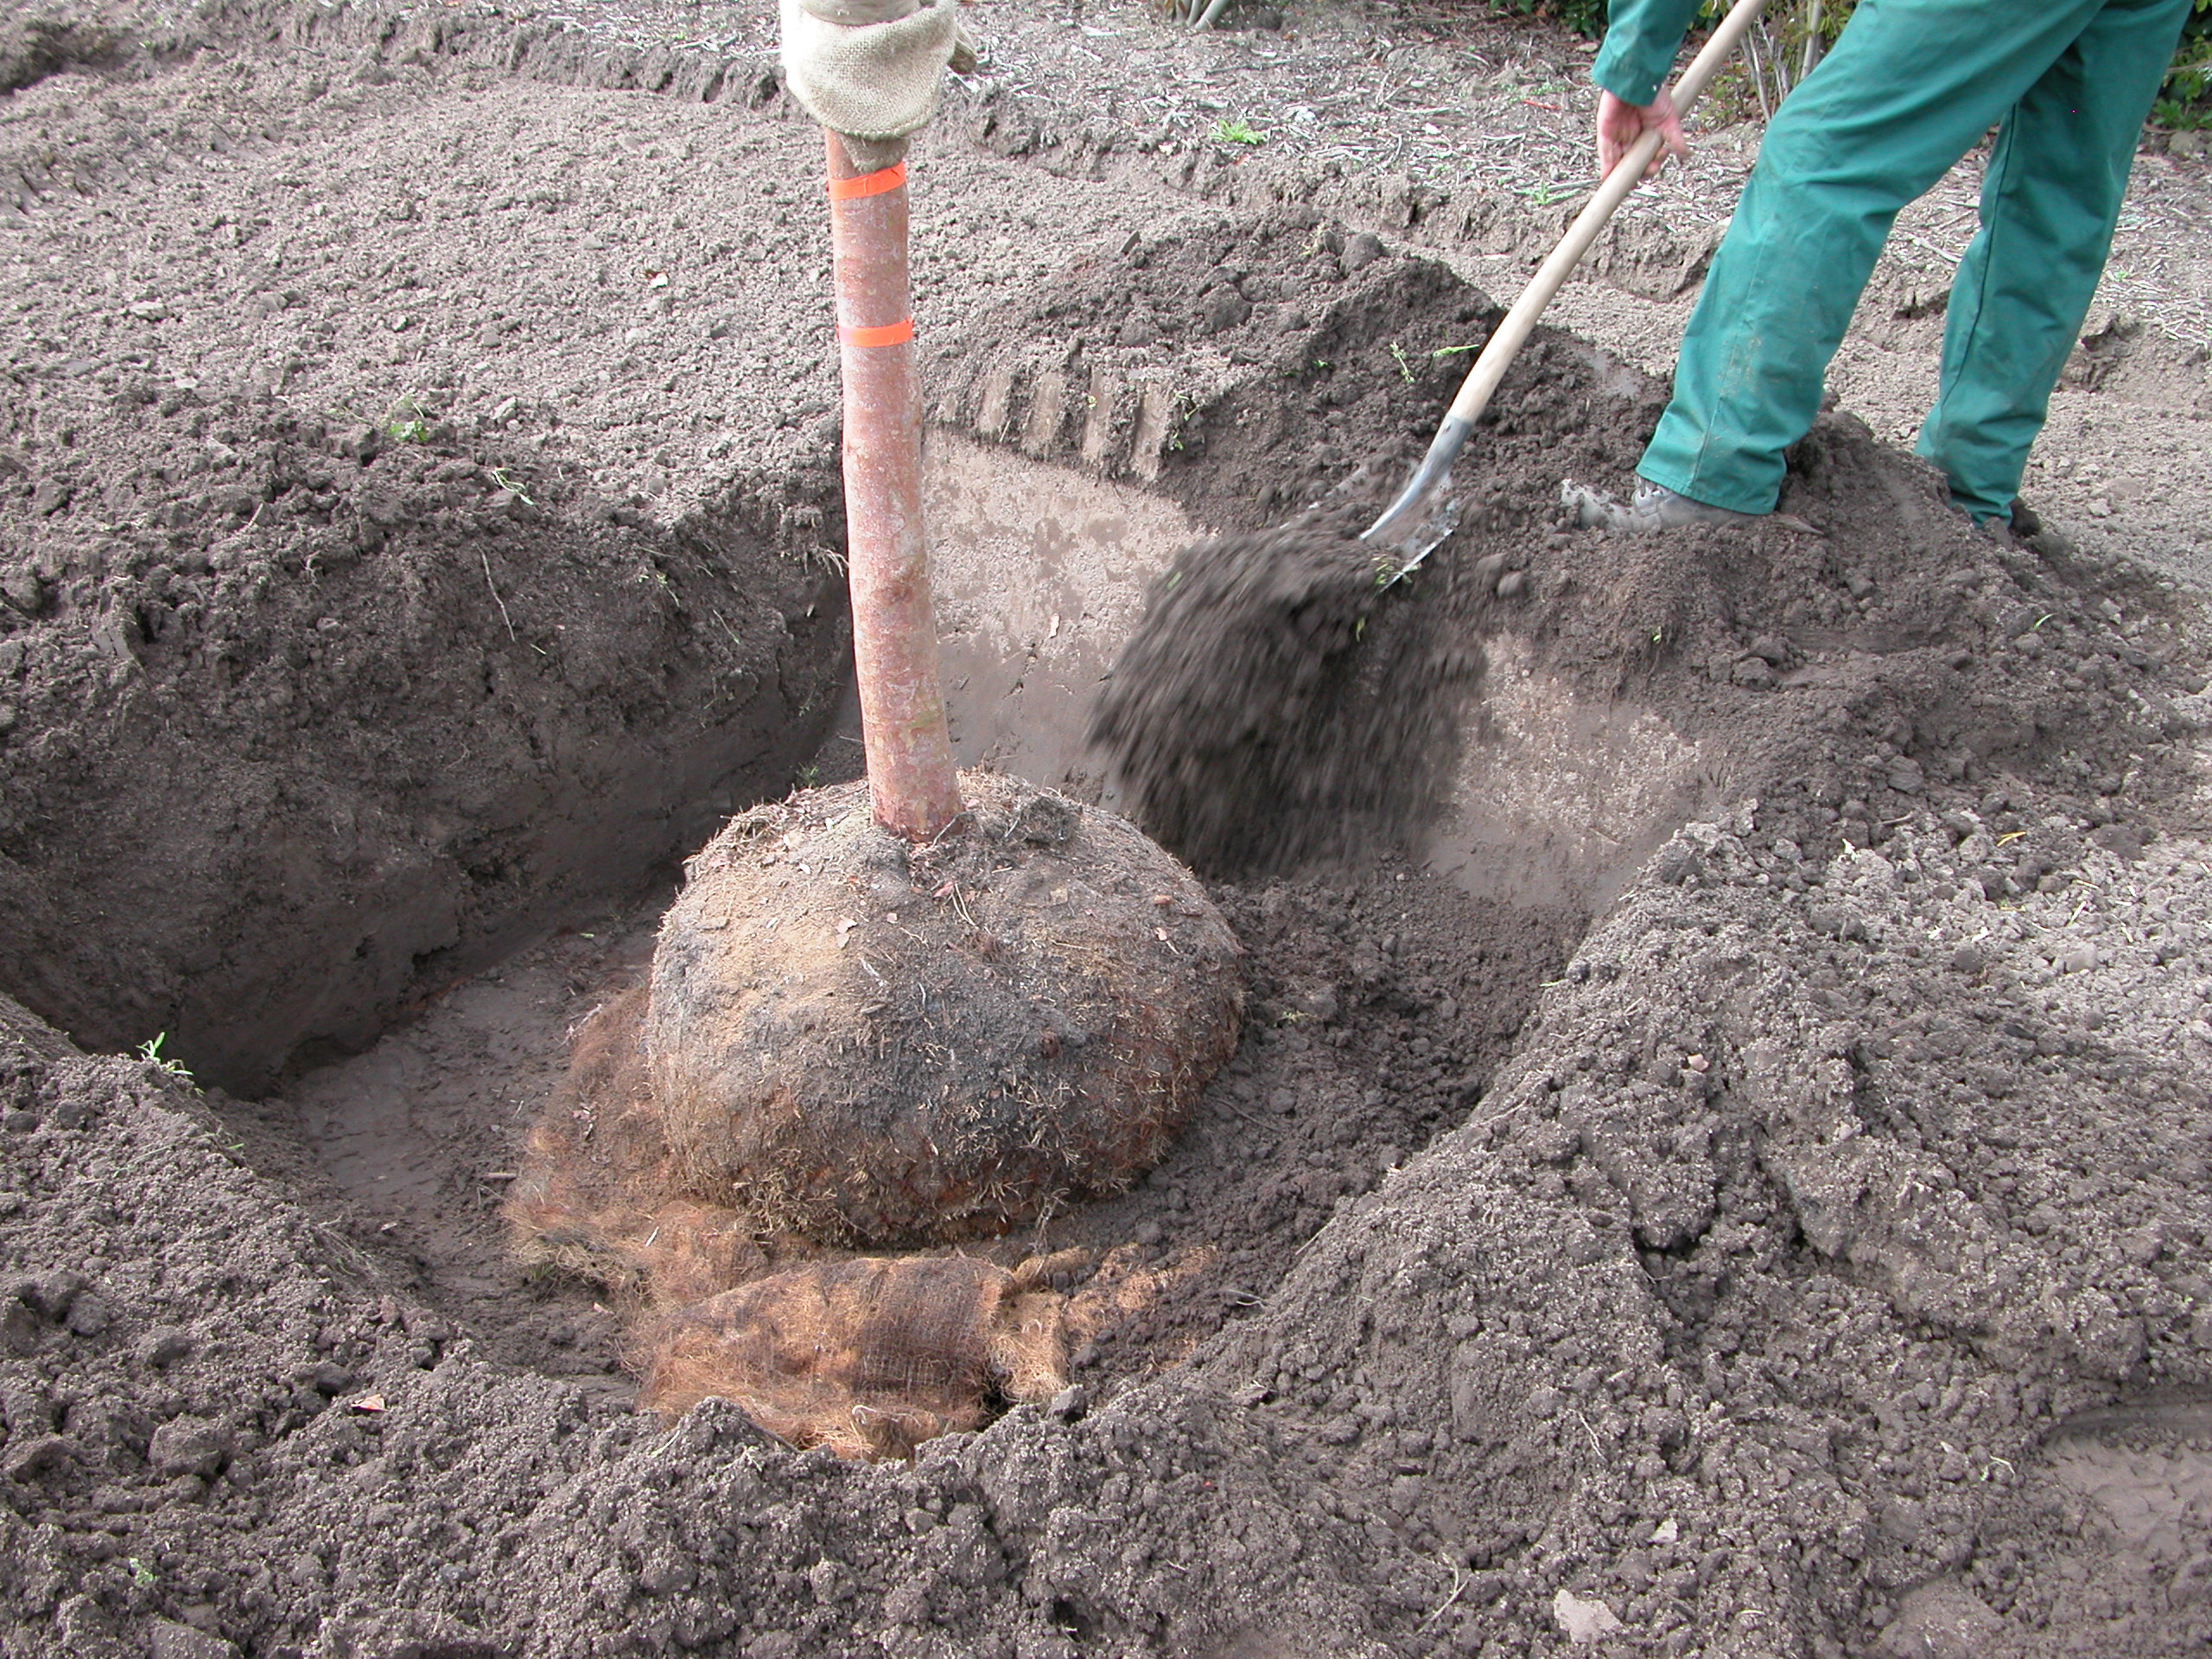
Begin filling the tree pit by backfilling it one-third of the way with soil. This initial layer stabilizes the rootball and sets the stage for proper root development. Using high-quality soil for backfilling ensures that the tree receives the necessary nutrients and provides a solid base for the roots to expand into.
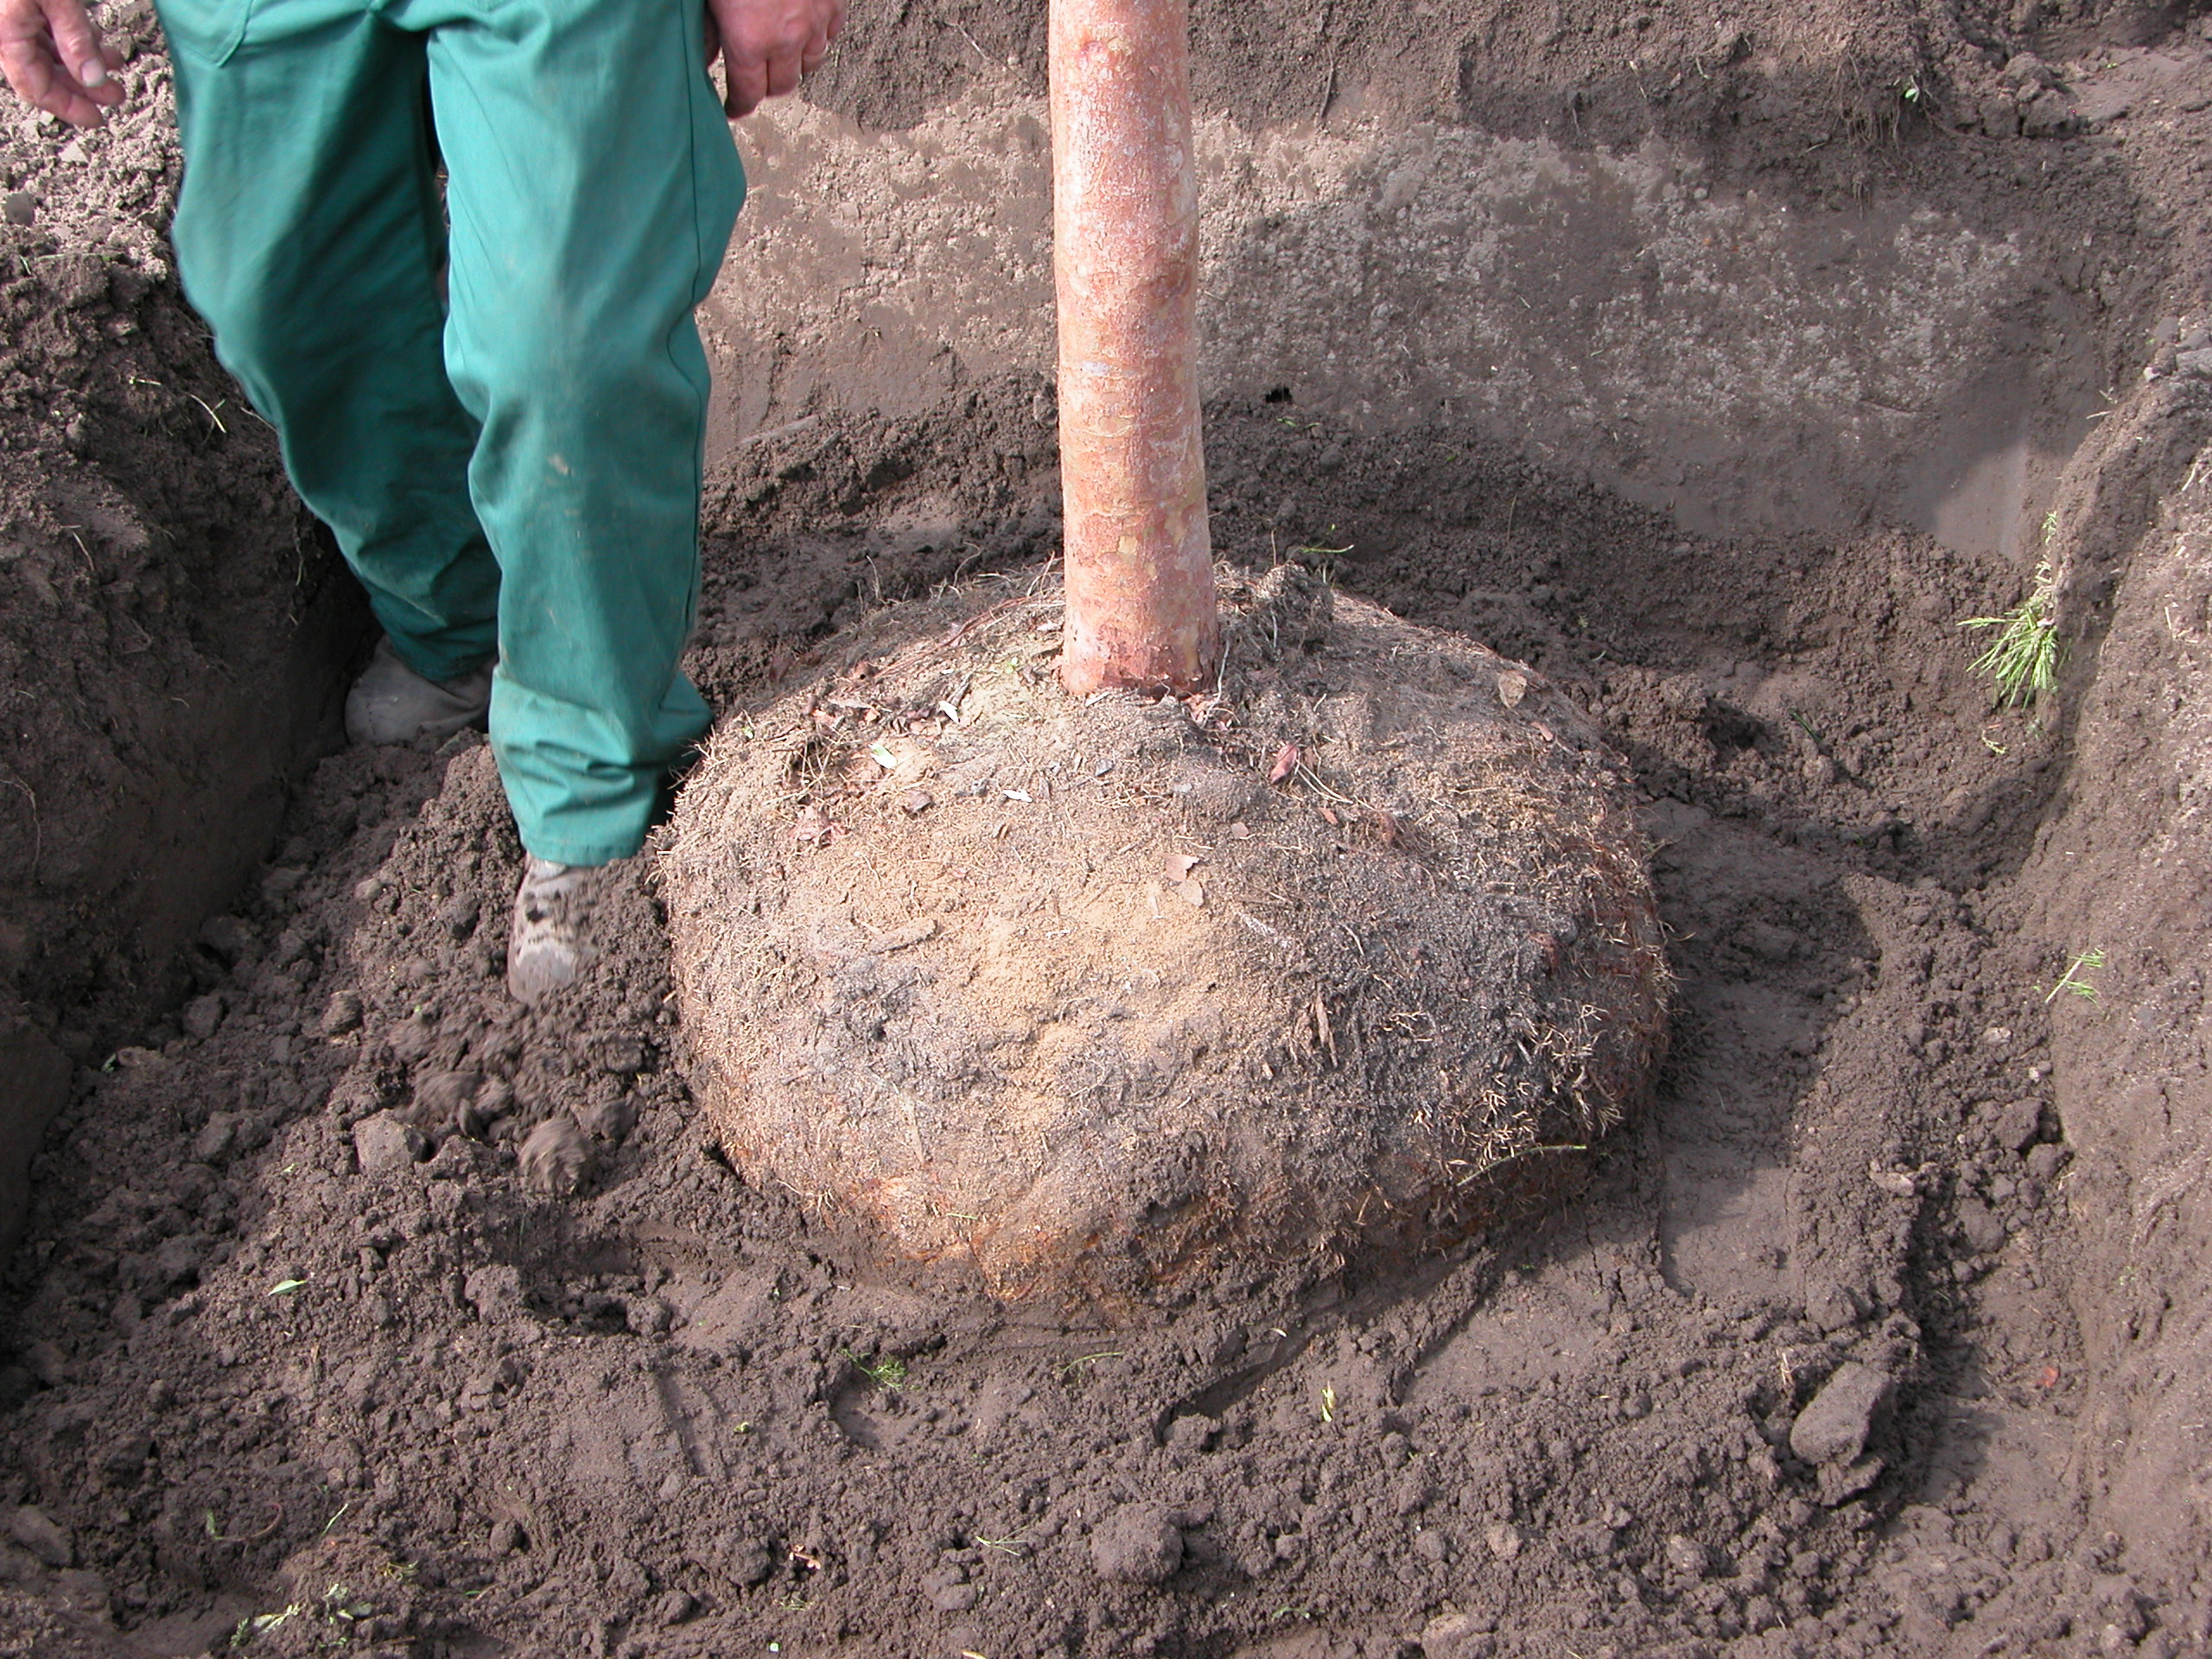
Firmly compact the soil after backfilling one-third of the pit. Compacted soil removes air pockets and provides solid support for the tree, promoting strong root anchorage. Ensuring there are no air pockets around the roots is vital for preventing root desiccation and encouraging proper root-to-soil contact, which is crucial for water uptake.
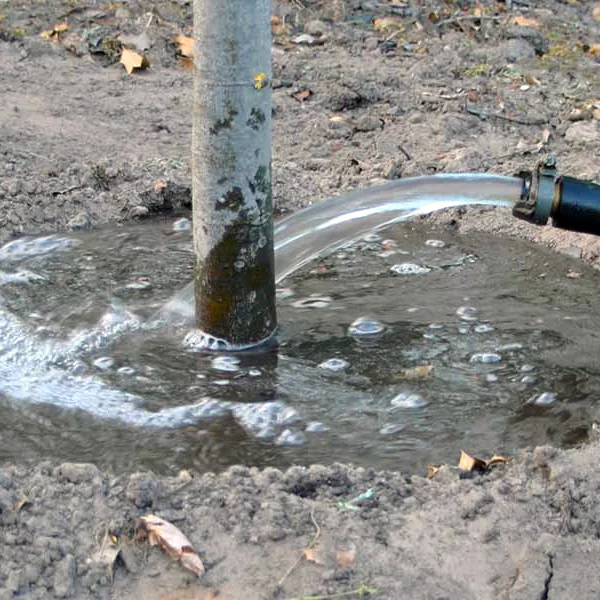
Make sure you water the trees right away after planting, the trees have been on the road a couple of days before arrival at their final destination and will need water directly. Although it might seem straightforward, improper watering is one of the most common mistakes made when planting trees. Adequate and consistent watering ensures that the tree establishes a strong root system and grows healthily. To help you get it right, we have created a detailed watering guide and video. Follow the instructions on our watering page to ensure your tree receives the right amount of water.
Steps for Watering Newly Planted Trees:
Initial Watering:
Frequency:
Amount:
Adjusting for Weather:
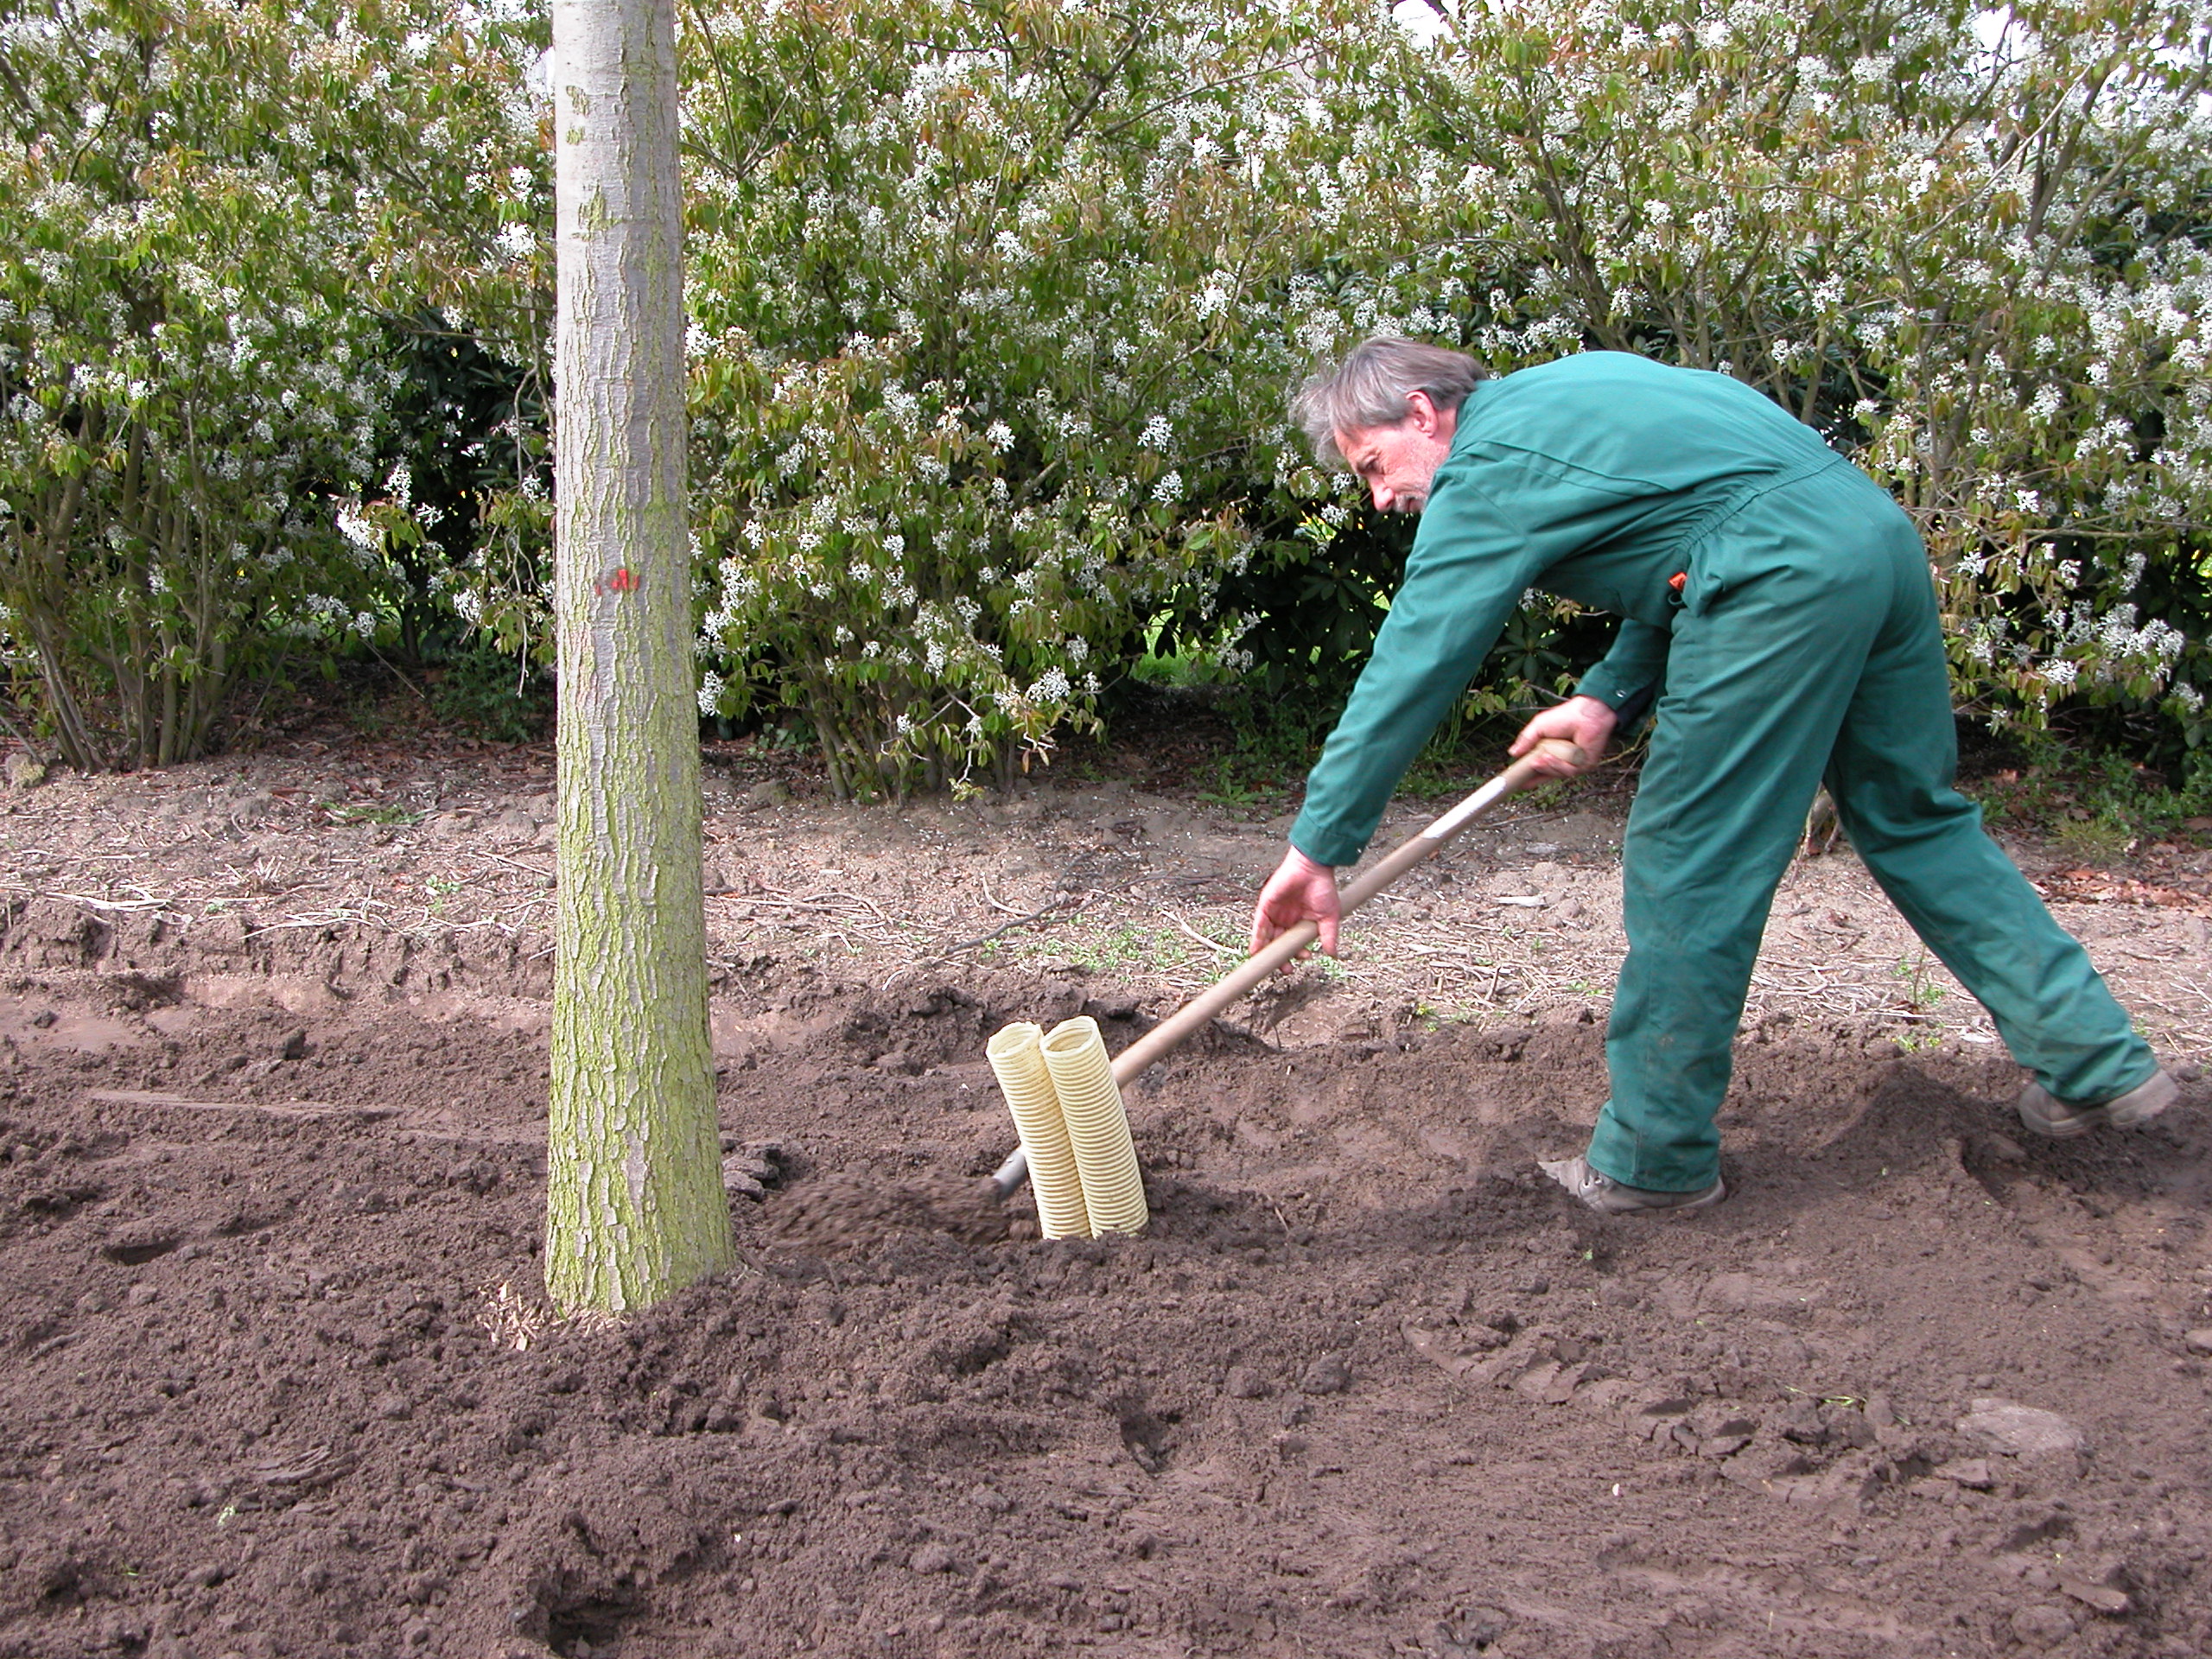
Ensure the final setup includes proper drainage. Adequate drainage prevents waterlogging and ensures the tree receives the right amount of moisture. Poor drainage can lead to root rot and other water-related issues, so it's essential to create a well-drained environment for the tree to thrive.
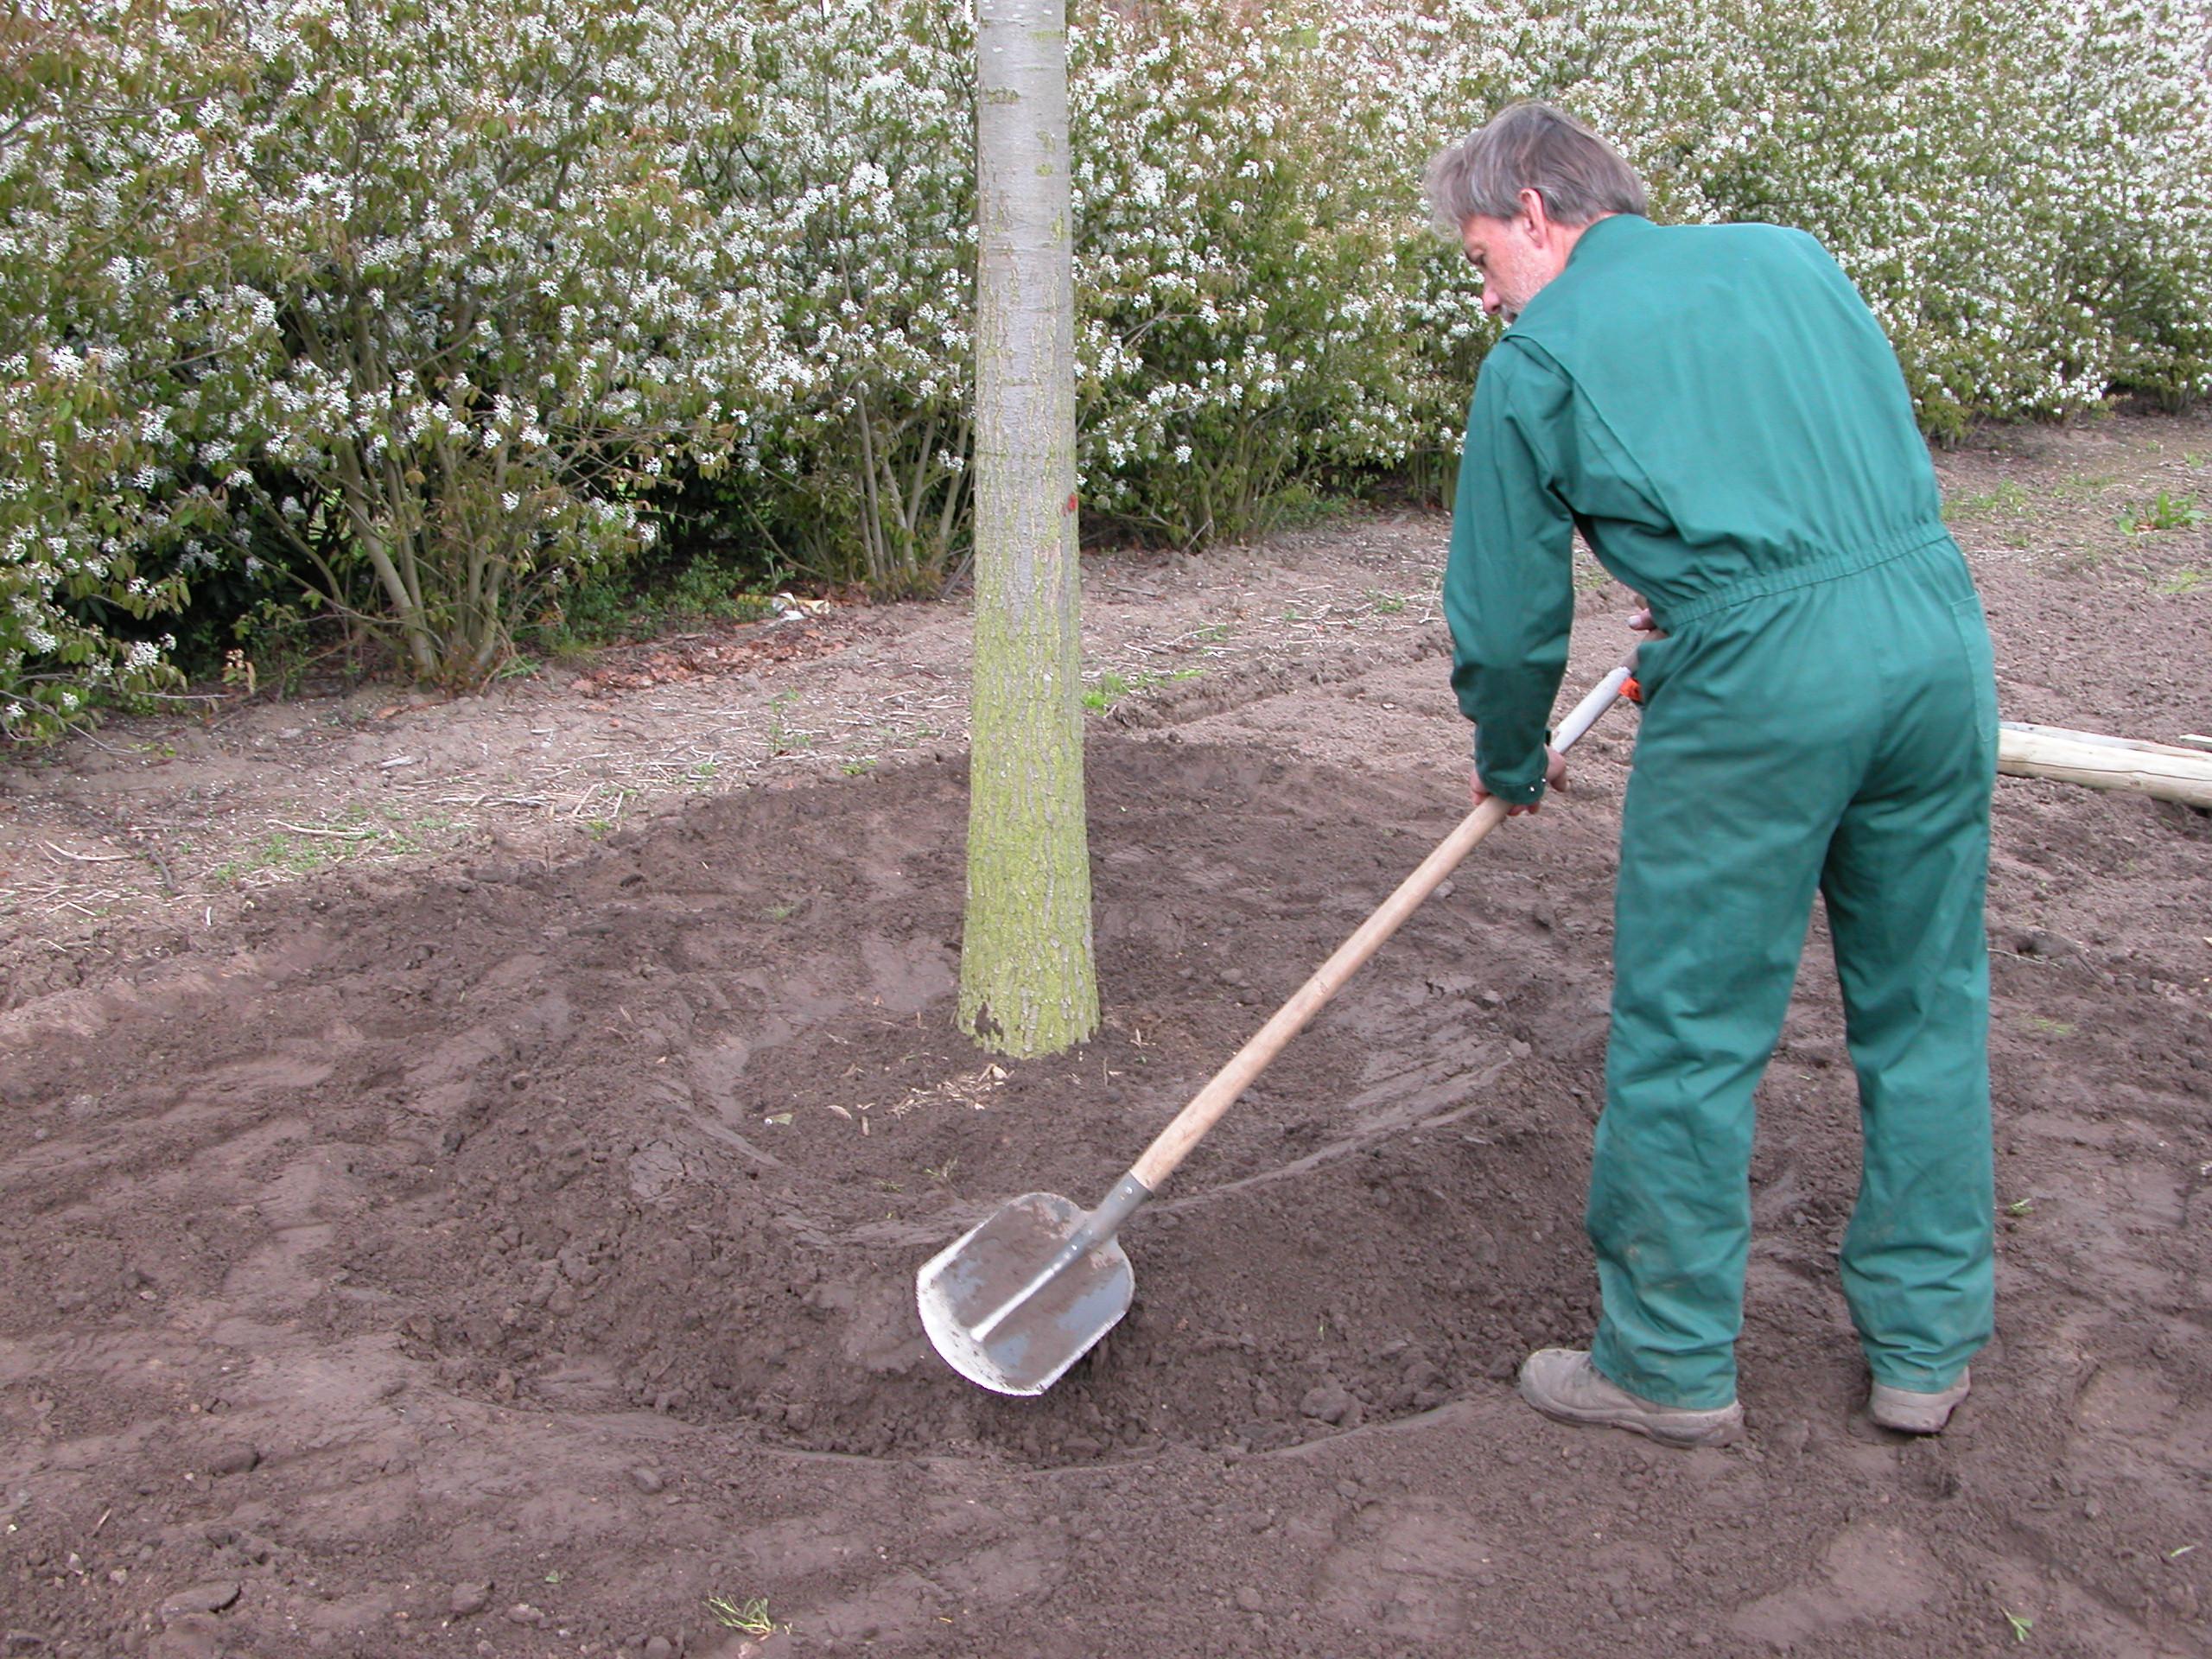
Create a raised ridge around the planting area. This ridge helps direct water to the root zone and prevents runoff, maximizing water availability for the tree. A raised ridge acts as a mini-dam, ensuring that water is retained around the tree's base, which is especially beneficial during dry periods.
Important! The rootball must never be placed too deep: It is critical to plant the rootball at the correct depth. The top of the rootball should be level with or slightly above the surrounding soil. Planting too deep can cause root suffocation and hinder tree growth. Ensuring the rootball is at the right depth promotes proper air exchange and prevents the roots from being buried too deeply, which can lead to poor health and even tree death.
For further information, visit www.vdberk.com or call +31 (0)413 - 480 480.

 English
 English (United Kingdom)
 Nederlands
 Nederlands (België)
 Deutsch
 français
 čeština
 polski
 español
 română
 dansk
dansk
 svenska
 magyar
 Türkçe
 slovenčina
 русский
 norsk
norsk